
Today, we are lucky to have a guest post from the talented Melissa Mora of Melly Sews. Melissa has been working with our Stick-N-Washaway™ and came up with a great way to use it to update an old button up. It’s really an excellent lesson in how to add a new feature to something old to make it new again. Love it!! Thanks so much to Melissa for this fabulous tutorial:).
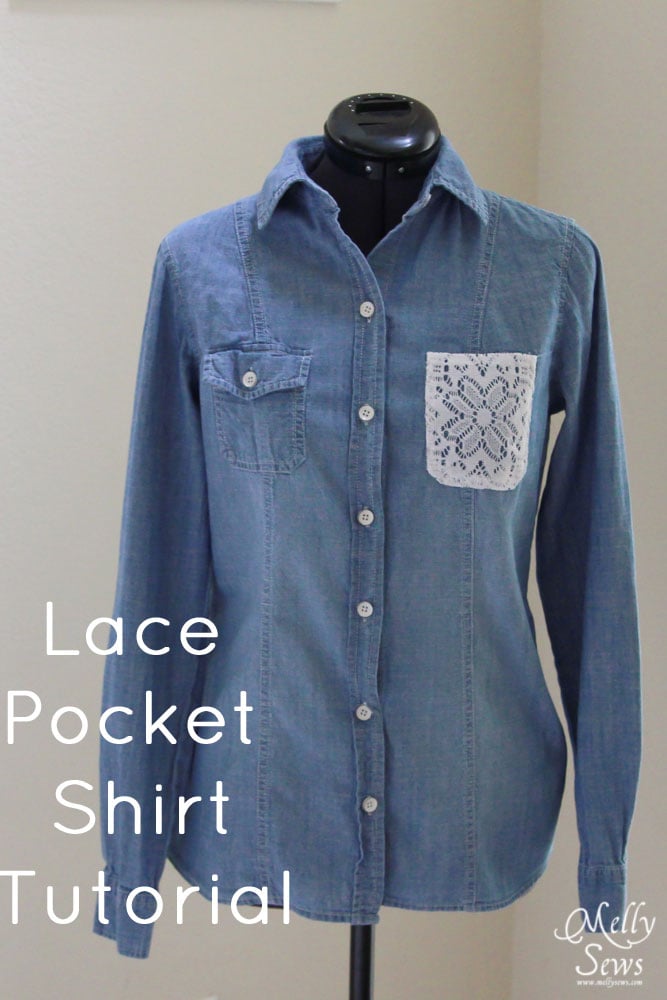
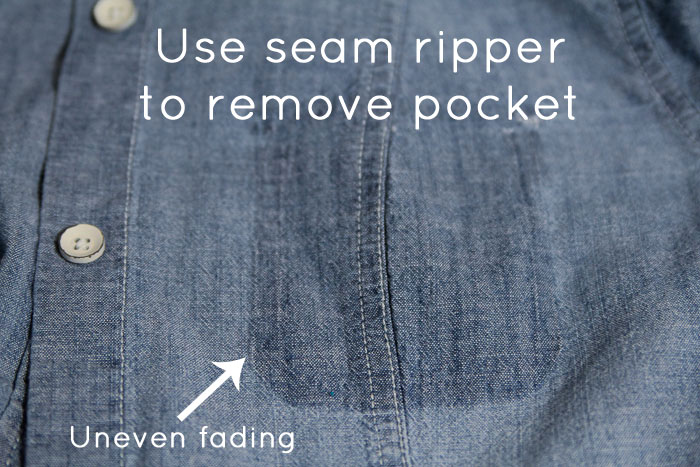
This lace pocket shirt tutorial is an easy refashion. I had a chambray shirt with an old company logo on it. The fit was great. The company, on the other hand, wasn’t a great fit. So I removed the pocket with the logo on it. But, that left some uneven fading on the shirt, so you could clearly see where the pocket had been.
I really liked the idea of adding a lace pocket to my shirt, but lace can be finicky to work with. It’s shifty and can be hard to hem. Then it came to me – Pellon® Stick-N-Washaway™ would be the perfect stabilizer, allowing me to work with the lace, but then washing out so that the pretty detail could be seen. Win!
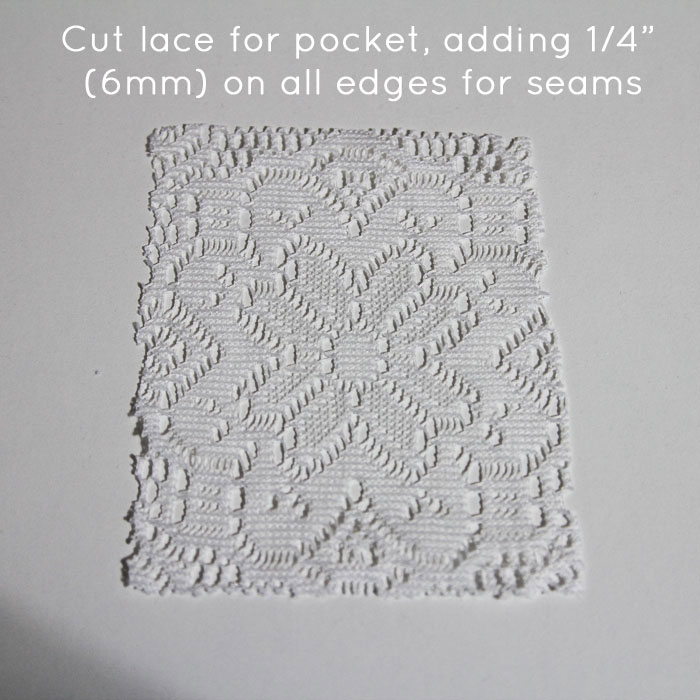
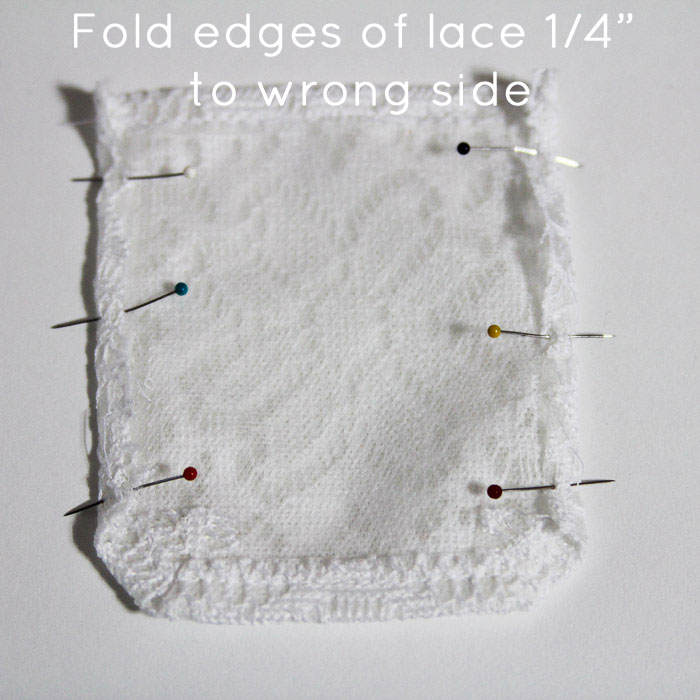
So, I measured my pocket area, and added 1/4″ (6mm) to each side for a seam allowance.
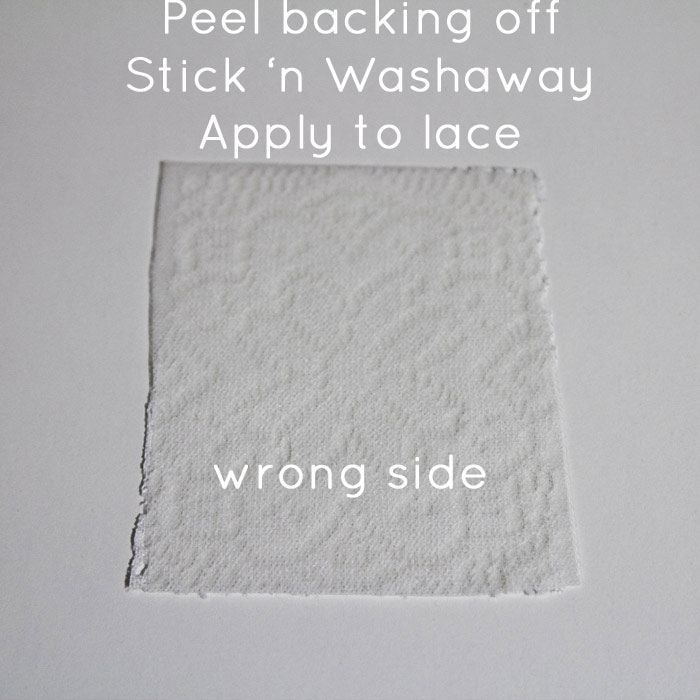
I cut a piece of Stick-N-Washaway™ to the same size, peeled off the backing and applied it to the wrong side of my lace.
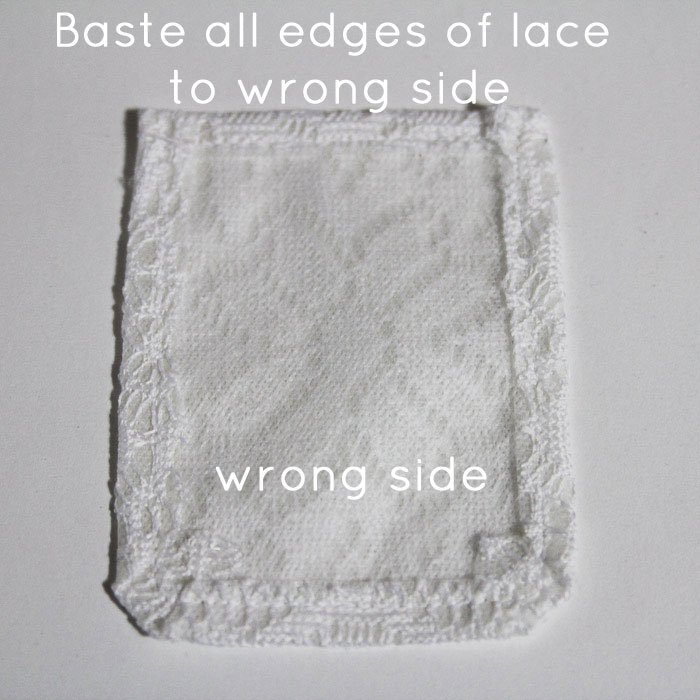
Now that my lace was acting like regular fabric, it was easy to baste my edges to the wrong side of the fabric and hem the top edge of the pocket. I did the top and bottom, then the sides.
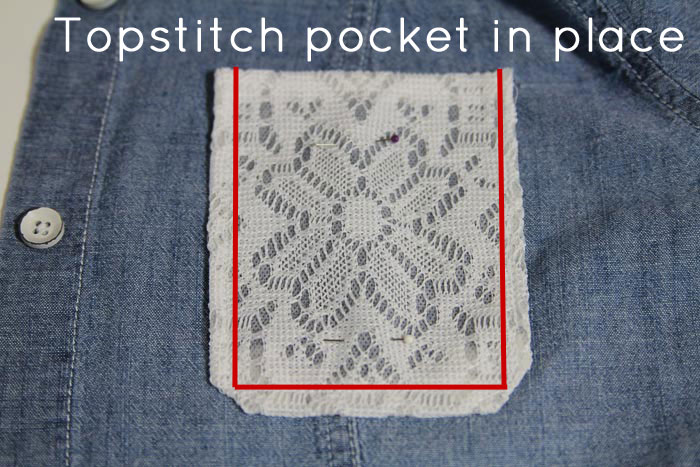
Now all that was left to do was to pin the stabilized lace pocket onto my shirt and topstitch it into place.
Then I threw the whole thing in the wash. The Stick-N-Washaway™ magically disappeared, leaving only the pretty lace detail to see.
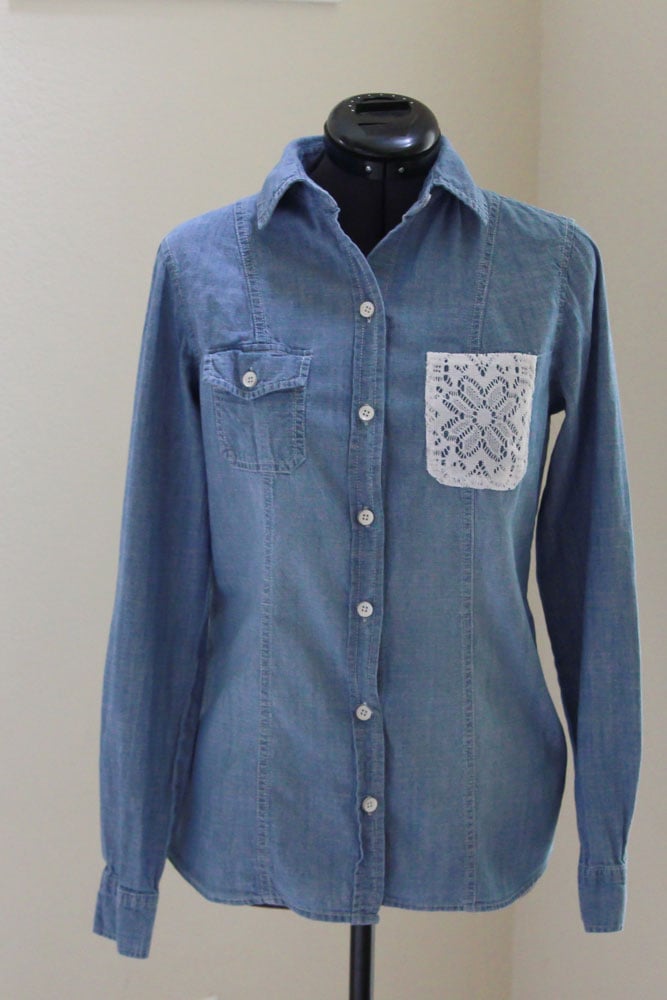


This is soooo cute! Such a simple refashion but such a fabulous change! It looks all designer and expensive now. 😉